No products in the cart.
Satin bows have been a popular accessory for a long time, and their popularity continues to rise. Satin bows have been used in various accessories, including jewelry, hair accessories, and clothing.
In recent years, fashion designers have incorporated satin bows into their collections, making them a trendy accessory[1]. Powerhouse brands like Miu Miu and Chanel have placed bows over and over again on shoes, in hair accessories, through jewelry, and on glitzy dresses, making it modern to wear the bow[2].
Satin bows have been seen on the runway, on celebrities, and in everyday fashion. They add a touch of femininity and elegance to any outfit, making them a must-have accessory for many fashion-conscious individuals[3].
List of materials needed for creating satin bow accessories
To create satin bow accessories, you will need the following materials:
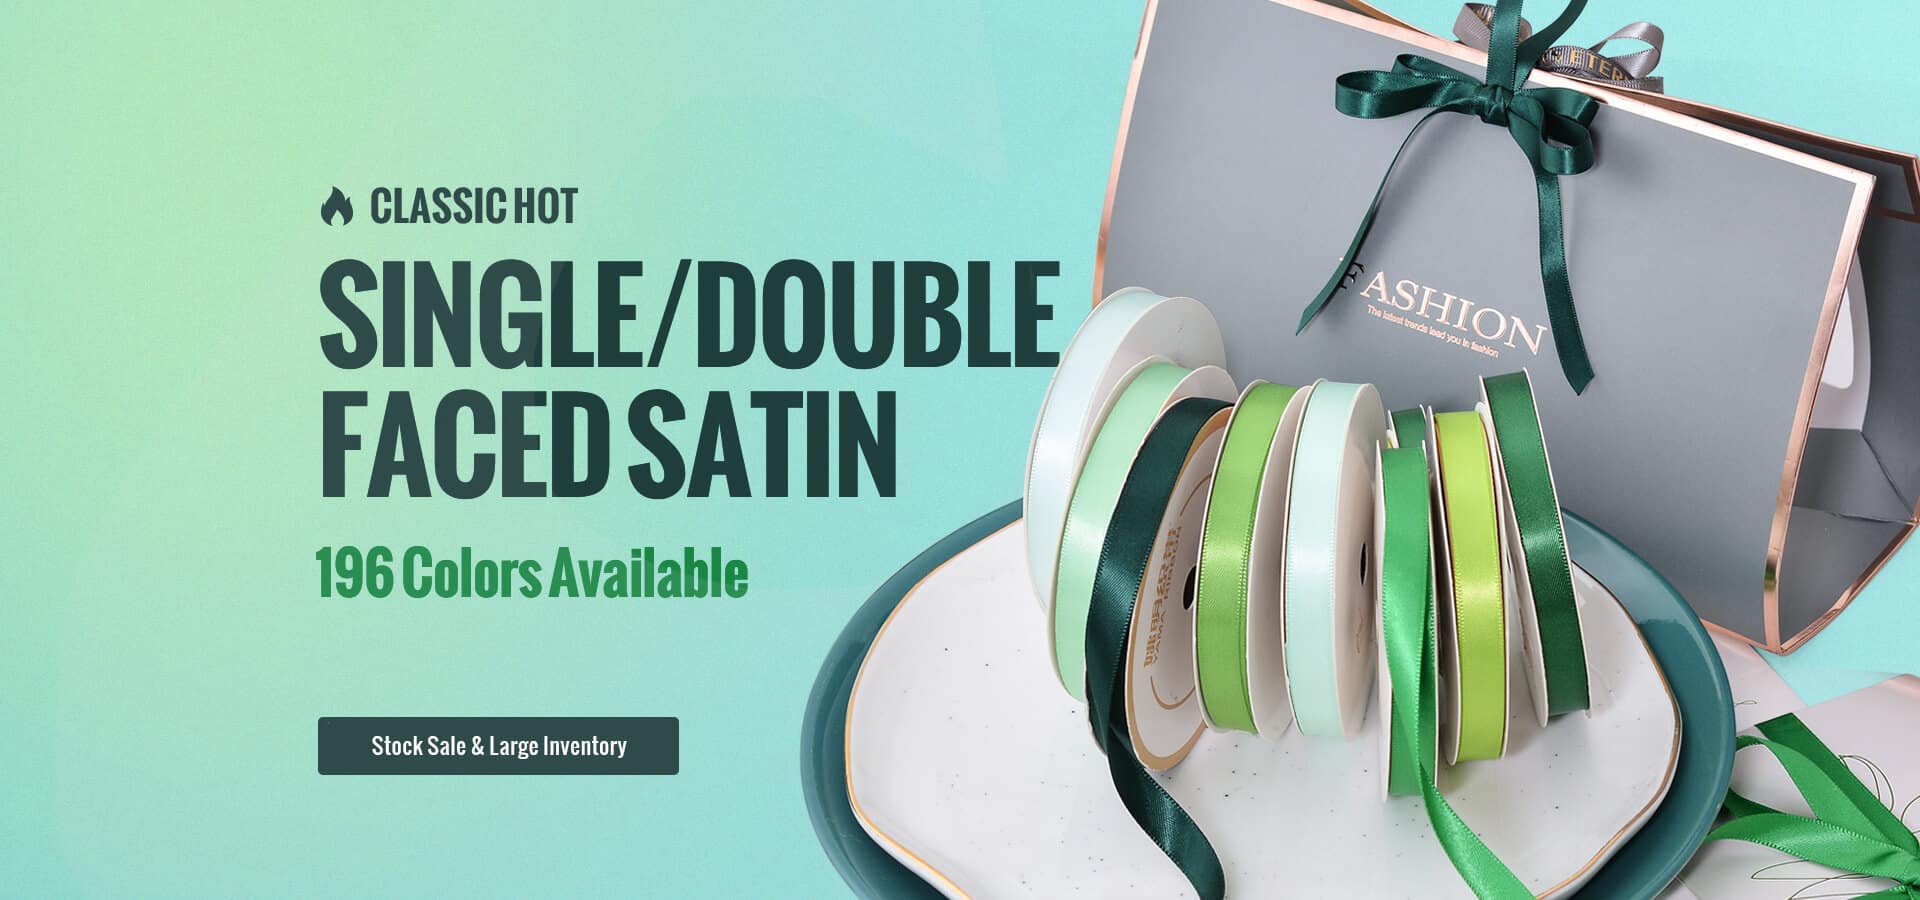
Satin Ribbon: This is the primary material needed to make satin bows. You can choose from a variety of colors, widths, and lengths depending on your preference and the type of accessory you want to create.
Scissors: You will need a pair of sharp scissors to cut the satin ribbon to the desired length.
Glue gun: A glue gun is essential for securing the ribbon in place and attaching any additional embellishments.
Embellishments: You can add embellishments like rhinestones, pearls, or beads to your satin bows to make them more unique and stylish.
Hair clips: If you are making hair accessories like hair clips or headbands, you will need hair clips to attach the bows to your hair.
Earring hooks: If you are making satin bow earrings, you will need earring hooks to attach the bows to your ears.
Jump rings: If you are making satin bow necklaces or bracelets, you will need jump rings to attach the bows to the chains.
Chain: You will need a chain if you are making a necklace or bracelet to attach the satin bow to.
Elastic: If you are making a satin bow scrunchie, you will need elastic to create the band.
These are the basic materials you will need to create satin bow accessories. Depending on the type of accessory you want to create, you may need additional materials like wire, pliers, or additional embellishments.
How to Make Satin Bow Jewelry
Step-by-step instructions for creating satin bow jewelry, including necklaces, bracelets, and earrings
Here are the step-by-step instructions for creating satin bow jewelry:
- Materials Needed:
- Satin ribbon
- Scissors
- Glue gun
Earring hooks or jump rings and chain (for necklaces/bracelets)
1. Cut the ribbon
Cut the satin ribbon to the desired length for your necklace, bracelet, or earrings. For necklaces and bracelets, you will need a longer piece of ribbon. For earrings, a shorter piece of ribbon will suffice.
2. Create the bow
Fold the ribbon in half to create a loop and pinch it in the center. Then, create two more loops on either side of the center loop, pinching each loop in the center as you go. Use the glue gun to secure the loops in place.
3. Attach the earring hooks or jump rings and chain
If you are making earrings, attach the earring hooks to the back of the bow using the glue gun. If you are making a necklace or bracelet, attach the jump rings to the back of the bow using the glue gun. Then, attach the jump rings to the chain.
4. Add embellishments (optional)
If desired, you can add embellishments like rhinestones, pearls, or beads to your satin bow jewelry. Use the glue gun to attach the embellishments to the bow.
5. Let the glue dry
Allow the glue to dry completely
How to Make Satin Bow Hair Accessories
Materials Needed:
- Satin ribbon
- Scissors
- Glue gun
- Hair clips, headbands, or elastic (for scrunchies)
1. Cut the ribbon
Cut the satin ribbon to the desired length for your hair accessory. For hair clips, you will need a shorter piece of ribbon. For headbands and scrunchies, you will need a longer piece of ribbon.
2. Create the bow
Fold the ribbon in half to create a loop and pinch it in the center. Then, create two more loops on either side of the center loop, pinching each loop in the center as you go. Use the glue gun to secure the loops in place.
3. Attach the hair clip, headband, or elastic
If you are making a hair clip, attach the bow to the hair clip using the glue gun. If you are making a headband, attach the bow to the headband using the glue gun. If you are making a scrunchie, wrap the elastic around the center of the bow and tie it in a knot.
4. Add embellishments (optional)
If desired, you can add embellishments like rhinestones, pearls, or beads to your satin bow hair accessories. Use the glue gun to attach the embellishments to the bow.
5. Let the glue dry
Allow the glue to dry completely before wearing your satin bow hair accessories.
These steps can be repeated to create multiple satin bow hair accessories in different colors and styles. With these simple steps, you can create unique and stylish satin bow hair accessories that will add a touch of elegance to any hairstyle.
Additional tips and tricks for creating unique and stylish satin bow accessories
Here are some additional tips and tricks for creating unique and stylish satin bow accessories:
- Experiment with different ribbon sizes and textures. Satin ribbon comes in various widths and textures, so try using different sizes and textures to create bows with different looks and feels.
- Use contrasting colors. If you’re making a hair accessory, consider using a ribbon color that contrasts with your hair color to make the bow stand out.
- Add different embellishments. Try adding different types of embellishments to your satin bows, such as feathers, lace, or tulle, to create a unique and personalized look.
- Layer multiple bows. For a more elaborate look, try layering multiple bows on top of each other. You can use different ribbon sizes and textures to create a more dimensional look.
- Mix and match. Don’t be afraid to mix and match different types of satin bows, such as using a larger bow for a necklace and a smaller bow for earrings.
- Use wire to shape the bow. If you want to create a more structured bow, use wire to shape the loops and hold them in place before securing them with the glue gun.
- Create different bow styles. There are many different types of bows you can create with satin ribbon, such as a classic bow, a twisted bow, or a layered bow. Experiment with different styles to find the one that works best for your accessory.
By using these tips and tricks, you can create unique and stylish satin bow accessories that will add a touch of elegance to any outfit or hairstyle.
To recap, creating your own satin bow accessories has many benefits, including
- Cost-effective: Making your own satin bow accessories is often more cost-effective than buying them from a store.
- Personalization: You can create satin bow accessories in any color, size, or style to match your personal taste and style.
- Creativity: Making satin bow accessories allows you to express your creativity and experiment with different designs and embellishments.
- Unique: Handmade satin bow accessories are unique and one-of-a-kind, making them a great way to stand out from the crowd.
- Fun and rewarding: Making satin bow accessories is a fun and rewarding activity that can provide a sense of accomplishment and satisfaction.
If you haven’t tried creating your own satin bow accessories yet, I encourage you to give it a try! With a few simple materials and some creativity, you can create beautiful and unique accessories that will add a touch of elegance to any outfit or hairstyle.

